DIY Wood Engraving: Getting Started
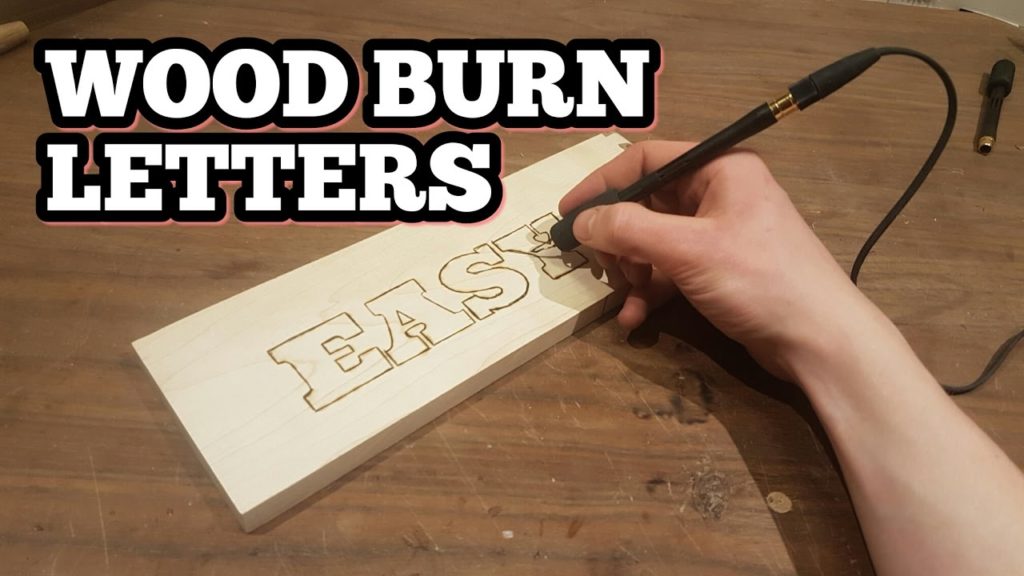
Getting started on a brand new hobby can be exciting. But if you’re jumping into something brand new, it can be a bit intimidating. DIY wood engraving is a great hobby to pick up on because it’s so accessible. In this article, we’ll walk you through the beginning steps of wood engraving such as the types of wood you’ll use, carving depth, and more!
Choosing Your Wood
There are dozens, even hundreds of types of wood available to you so you’re going to want to select the type based on what you’re doing.
Read more: Getting the best piece of the pergola in the latest designs
For example, whittlers will want to choose a soft block of wood while those making larger items like furniture will want a harder wood with a defined grain. These are the most common types of wood for engravers:
Basswood
Basswood is probably the most commonly used wood for beginners. It’s lack of grain means it’s soft and great for beginners to learn on, not to mention it can be found in hardware stores across the country.
Butternut
Butternut is another wood that’s ideal for beginners. Like basswood, it’s common, soft, and inexpensive; all the qualities you’d want when starting out.
Aspen
Aspen is a small step up in terms of hardness, though overall, it’s still very workable for beginners. It’s also common and inexpensive.
Black Walnut
Black walnut wood is another step up from aspen or butternut as far as price and hardness goes. You may require additional or sharper tools to work with this wood effectively.
Oak
One of the most common uses for oak is furniture making. It’s well defined grain makes it a hardwood that takes a bit more experience to work with.
Choosing Your Tools
There are many different types of hand tools available for engraving. Take a look at some of your options:
Chip Carving Knife
The chip carving knife is used for whittling and chip carving. It’ll provide your piece with a hand-crafted look but may not be completely smooth.
U-Gouge
A U-Gouge knife has a curved edge that can be used to take away a variety of depths of wood to get the desired size.
V-Gouge
A V-Gouge is similar to a U-Gouge but, as the name implies, has a pointed V-shaped edge rather than a curved one. These are used for more detailed work.
Skewed Chisel
The skewed chisel has a flat edge with a 45-degree angle. It’s used for controlled chiseling and is used by both beginners and experts.
Mallet
Mallets are used when working with large pieces of wood that need pieces broken off. They’re usually reserved for the more experienced craftsmen.
Carving Machine
For those who are serious about wood engraving, working with a CNC carving machine, like the X-Carve, is the next step up. These carving machines provide precise smooth cuts and are actually very easy to use.
Get Your DIY Wood Engraving Started!
Starting new hobbies like wood engraving can be really exciting. Now that you have a grasp on the materials you’ll need, you can get out there and start planning your first woodworking project!

 Green Thumbs And Professional Tools: The Growing Importance Of Lawn Care Services
  Reasons to Choose a 3 BHK Fully Furnished Flat for Rent
  The Convenience of Same-Day Dry Cleaning: 10 Benefits You Should Know
  The Complete Guide to Brick Bat Coba Waterproofing Techniques
  The Future of Gear Oil Pumps: Advancements in Design and Technology
  How Do Dubai AC Repair and HVAC Services Provide Maximum Comfort and Efficiency in the UAE?
  How a Healthy Living App Fits Modern Life
  Reasons To Improve Call Connect Rate
  Motor Coach Service for Corporate Retreats: A Smart and Comfortable Choice
  Importance of F & I Training Solutions